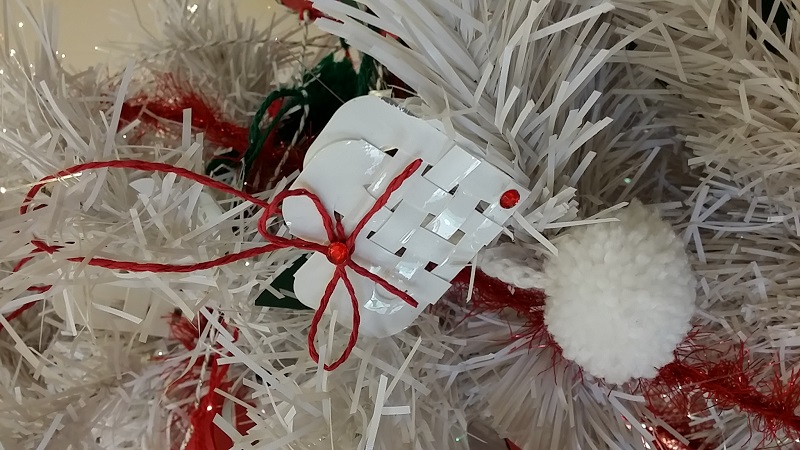
Got lots of leftover bits of wool in your knitting bag? Offer them on Freegle, or use them to make your own decorations for Christmas! Freegle volunteer Elaine explains how...
Make a lot of small Pompoms in various colours, leaving a long tail of yarn after they have been tied off (If you don't know how to make a pompom I'll explain later!) Then fasten the pompoms to a long length of cord or string (or even tinsel) or crochet the tails into long chain, starting with the tail of the first pompom, then about 3" later, start by adding the second pompom's wool into the chain, and continue in this way until all the pompoms are used up, leaving 3-4 inches after the last junction before adding in the next pompom. If you start using the wool close to the pompom, you will end up with a long chain, with pompoms crocheted onto it, but if you start to join the wool with the pompom farther away from the chain, the pompoms will dangle from chain.

How to make a Pompom
There are several ways to make pompoms. The Modern method needs a purchased plastic pompom maker, which, in all honesty is much, much easier to use than the old method, although the two do produce very similar results in the end! I will explain the older method, but if you can get a modern maker I would seriously recommend that you do so!!
Old Method Pompoms
Draw two circles and cut them out of strong cardboard (or substitute the base of a plastic container that is round, flat, and appropriately sized). Cut a smaller circle out of the centre of the two circles, leaving a ring of cardboard that is about the same width, or a little more, than the inner circles radius. For Example, to cut an approximate 2" pompom, cut a circle with a diameter of 2" (~5cm) across (radius 1") and make the hole in the middle that is less than 1" (~2cm) across (radius 0.5"). The actual size is less important than being consistent in the sizes, so once you are happy with the size, cut several more circles - you will be making a lot of pompoms!
Take a blunt needle with a large enough eye for your wool, and thread a long length of wool through the eye. Taking the two rings of card, hold them together, and start to wind the wool through the centre, and around the card ring, covering the entire card and making a wool covered O shape. Continue to wind the wool around the ring until the hole in the centre has been filled.
With a Strong pair of scissors, slide them between the loops of wool at the edge, and find the edges of the cardboard, and slip them between the two rings. Then start to cut the wool all around the outside edge of the card. Be careful not to cut the wool in the centre hole.
Once all the wool around the cards has been cut, cut a long length of wool, slide it between the cardboard rings, and loop it all around the wool in the centre. Pull this as tightly as you can, then tie the wool tightly. Wind the wool around and tie it off two or three more times, and pull the wool tightly each time before you knot it. Finally tie a double knot to finish securing the wool. (Note: I was recently introduced to a knot called a Surgeons knot, which is like a reef knot, except that the first part of the reef knot has the yarn passed around TWICE, which reduces the possibility of the pulled yarn slipping. I use this to secure each twist of wool when securing Pompoms.)
Carefully pull the card circles from the wool, and, holding up the pompom by the long ends, fluff up the pompom into a ball.
You can carefully trim off any pieces of wool that spoil the look of the ball by protruding too far, or even trim the whole ball to make it look and feel much denser and firmer, but do not get carried away - you could end up with a tiny pompom and a huge bowlful of trimmings!
Larger pompoms could be made by cutting larger circles - a Very Large pompom of approx. 8" can be cut by making an outer 8" (20cm) circle, with an inner 3.5" (9cm) circle. By scaling down from this we can have pompoms of any size, but going much larger uses a lot of wool, and results in a pompom that is heavy and somewhat unattractive!!
Really small pompoms (around 1" or 2.5cm across) can be made with little more than wool, and a table fork! Lay a length of wool, to tie the pompom off, between the middle two tines. Wind another length of wool around the outer tines of the fork a few times and then tie in the middle tightly. Slide the wool off the fork, and carefully snip the loops, and fluff into a ball shape. I find that six turns of double knitting wool makes a pompom that looks a bit weedy, but sufficient, and 18 turns is fluffy! Different wools have different effects, so try your wool out and judge for yourself. I found that the middle two tines were too fiddly for me, but it does produce a passable half inch pompom, with about 9 turns. If you are thinking of using pompoms to decorate cards, however, this would be a size of pompom to think about, if you are more dexterous than I am!
