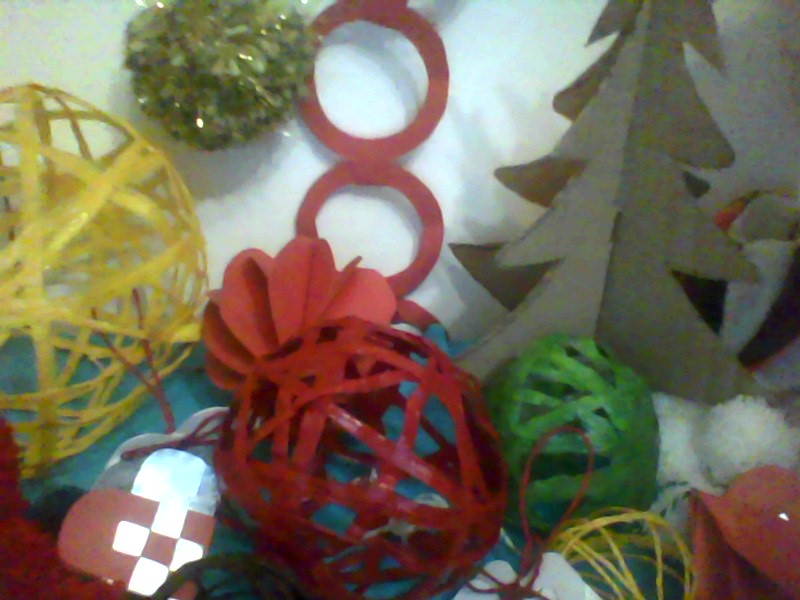
Making your own Christmas decorations is fun and cheap - and a great way for the kids to help out. You can make paper chains and loads of things to go on the tree - and home made cards. And nearer the time you can make home made wrapping for presents and even bake a present!
Freegle moderator Elaine is a dab hand at making things. Here's how she makes some splendid airy baubles to hang on a tree. There's a downloadable PDF at the bottom of the page.

YOU WILL NEED:
-
Large or small (water bomb size) Balloons
-
PVA or similar glue which dries “stiff” - Waterproof if for outside use
-
Absorbent cotton or paper based string, yarn, raffia, or twine, etc.
Mix up the PVA glue with about 1 part water to 3 parts glue, as this makes it easier for the string, or other absorbent material that you are going to make the decoration out of, to absorb it.
STEP 1 : Take a balloon and blow it up a little. Do not blow it up too much, as this will make the decoration egg or pear shaped, not round. It is also important that the balloon can be squashed easily later on, when the wrapping is dry – more later!
STEP 2 : Choose what you want to wrap around your balloon, and cut off a piece about 3m long for string or thin material like wool or twisted raffia, less for broad raffia, and using a small balloon, and double the length, or more, for larger balloons.
STEP 3 : Soak the material in the glue, and pulling it between your fingers, to remove excess glue, begin to wind the material around the balloon, leaving some irregular spaces. Make sure that the ends of the material are well stuck down, and re-apply glue to areas that do not seem to be well stuck together.
STEP 4 : Leave the material to dry out in a warm place. This may take several days in the areas where the material overlaps, but do not rush things! The longer you can let them dry the better. A heated cupboard or radiator shelf can help, but make sure that the wet glue won't get on other things!
STEP 5 : Once you are sure that the wrappings are dry, ease your finger or something smooth and blunt between the wrappings and the balloon. Once you have ensured that none of the material is still stuck to the balloon, and all the overlaps are well stuck together, you can burst the balloon and remove it. If you spot any unstuck layers, put more glue on that area to make it stick.
STEP 6 : Choose an area where several layers overlap, and tie a piece of ribbon onto the bauble there, to make a hanging point. If the bauble is to be stored after Christmas, place a balloon inside, and reinflate so the bauble can not get crushed. This also reshapes a squashed bauble!
VARIATIONS :
-
Put more glue on the layers using a fine brush, before or after you burst the balloon, and apply glitter to the glue for a sparkly look.
-
Place florists curling ribbons through a loop at the bottom of the bauble, then curl them to give a more “dynamic” look.
-
Instead of string or raffia, etc., cover the whole surface of the balloon with tissue or news paper, in several different layers. Once dry, burst and remove the balloon, cover the small hole remaining, and add a hanging loop. Cover with coloured paper, fabric or foil, and decorate to make a solid bauble, and decorate with gems, etc..
No string, raffia, balloons, glue, fabric, glitter, paints, gems, etc.?
-
Why not post a WANTED post on your local Freegle group, and see if anyone has some going spare!
Need other materials for craft Projects?
-
Someone out there will probably have the things that you need, if you plan ahead, and ask on your local Freegle group!
Before you decide to throw something away, that someone else might have a use for, save a few and Offer them on Freegle!
